Importing Images and Exporting for Web - Japanese Only
みなさまどうもこんにちは。
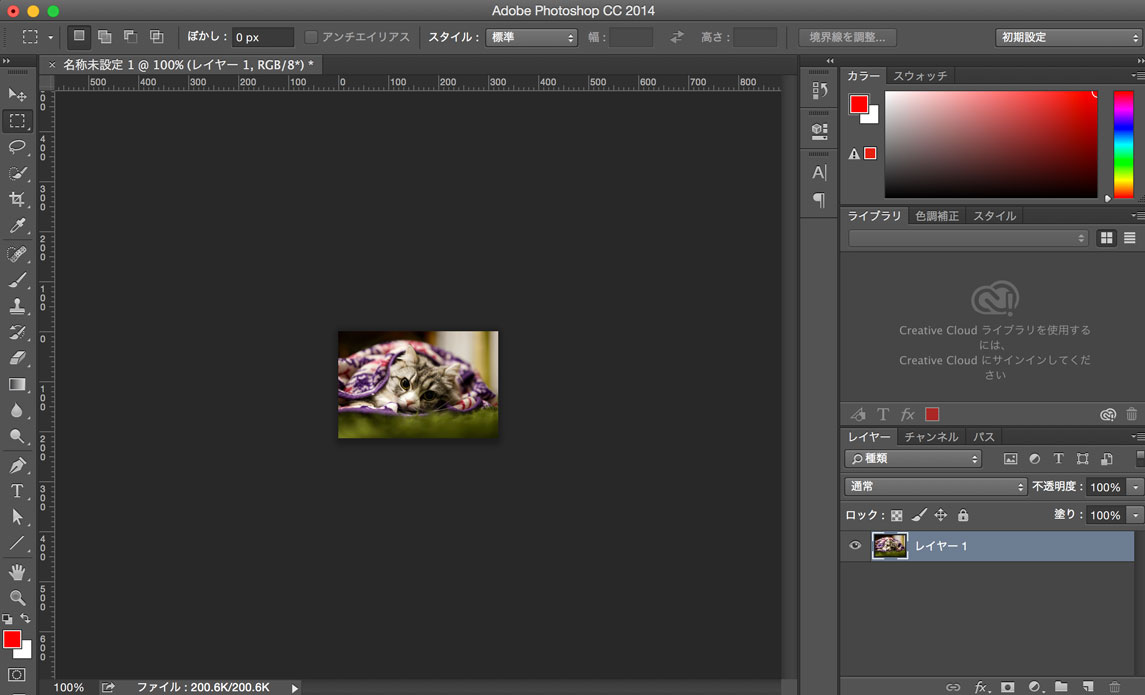
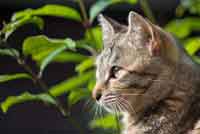
続きましてPhotoshopで画像の取り込みをしてみましょう。というわけで適当に画像をご用意してください。画像の形式は『JPEG画像』、『PNG画像』、『GIF画像』なんでもOKです。ダウンロードしたい方はこちらからどうぞ。猫ちゃんでございます。
画像の開き方はWindowsOS、MacOS共に上のメニューバーの『ファイル』から『開く』を選んで開きたいファイルを選択すればOKです。ショートカットキーを使用したい場合、WindowsOSの方は『Ctrl』+『O』、MacOSの方は『command』+『O』で開くファイルの選択画面を開けます。
その他、『ドラッグアンドドロップ』でも画像ファイルを開くことができますがドラッグする場所には注意しましょう。すでに画像を開いてる状態で作業領域部分に画像ファイルをドラッグすると、その画像ファイルの『レイヤー(オブジェクト)』として画像が追加されるので、新規で画像ファイルを開きたい場合はタブの辺りにドラッグする必要があります。
※レイヤーについては先の記事で解説していきます。
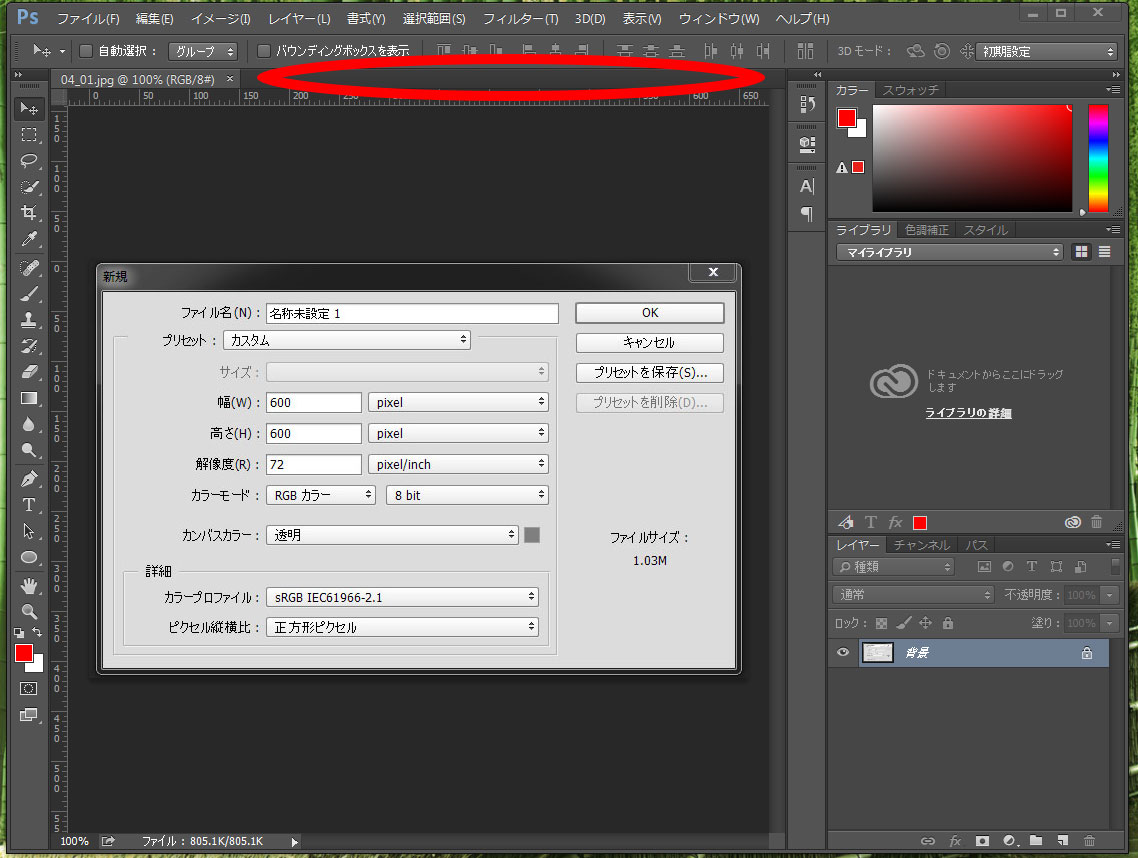
ドラッグする場所を画像でちょっとみていきますね。画像ファイルをすでに開いた状態で以下の赤丸の部分にドラッグすると
こうなります。
なので新規で画像ファイルを開きたい場合は以下の赤丸部分にドラッグしてください。
ここ間違いやすいので気をつけましょう。
画像ファイルの開き方はこんな感じになります。続いて画像ファイルをクリップボードから開いてみましょう。
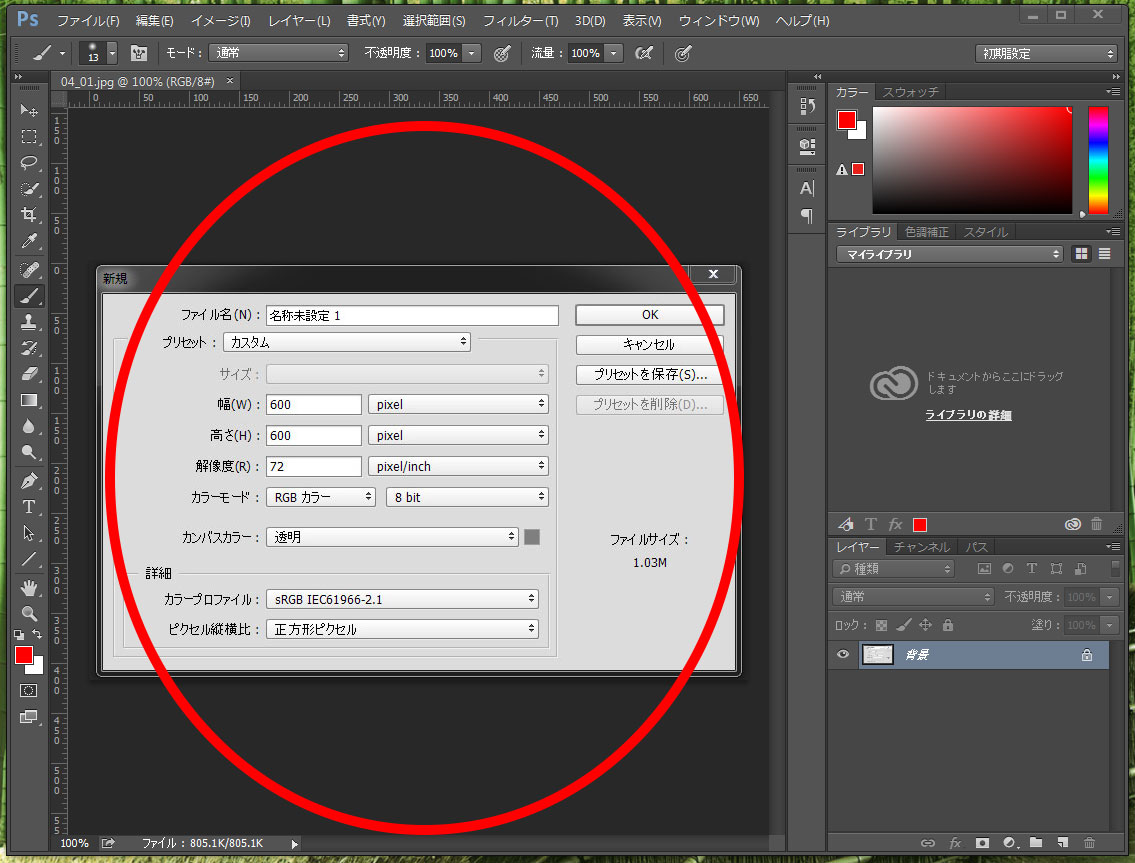
こちらをブラウザで開いて画像を右クリックして『画像をコピー』と選択してください。これでクリップボードに画像がコピーされました。そのままPhotoshopを開いて『ファイル』から『新規』と選んでみましょう。そうすると『プリセット』の項目が『クリップボード』となっているはずです。
そしたらそのまま『OK』を選択してファイルを作成しましょう。そしたらWindowsOSの方は『Ctrl』+『V』、MacOSの方は『command』+『V』と打ち込んでみてください。そうするとそのままコピーした画像がは貼り付けられたと思います。これ便利なショートカットなので覚えておきましょう。
では続いてこの画像を書き出したり保存してみたりしてみましょう。まずPhotoshopデータとしてそのまま保存したい場合は『ファイル』の『保存』を選択します。ショートカットキーはWindowsOSの方は『Ctrl』+『S』、MacOSの方は『command』+『S』になりますね。そうするとPhotoshopデータとして保存できます。Photoshopデータの拡張子は『.psd』ですのでこちらも覚えておいて下さい。
そしてウェブ素材用の『JPEG画像』、『PNG画像』、『GIF画像』で画像を書き出ししたい場合は『ファイル』の中の『Web 用に保存』というのを選択してください。するとWeb用の書き出し画面が出てきますので書き出したい画像フォーマットごとに設定をみていきましょう。
※『JPEG画像』、『PNG画像』、『GIF画像』についてはこちらの記事へどうぞ。
まず『JPEG画像』からですね。まず右上のプルダウンの項目を『JPEG』にしましょう。そうするとJPEG画像での書き出し項目へと全てが変更されます。
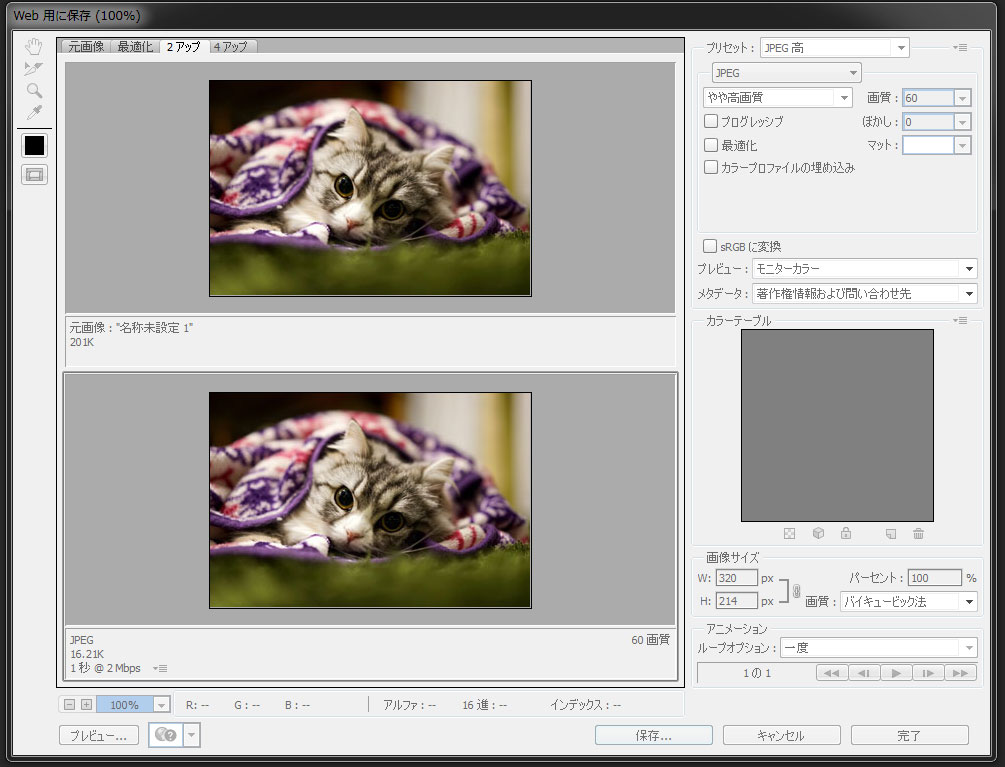
色々な項目がありますが、まず『やや高画質』とかの項目があるところと『画質』という項目に注目ですね。これは2つ連動していて、JPEG画像の圧縮率を調整できます。ウェブ素材としては『60』前後を目安にしましょう。
左下にデータ量が『16.2K』って感じで出てくるのでここでデータ量をチェックしつつ画質を見比べながら調整すると良いです。あまりに重い画像を沢山並べるとウェブページの表示に時間がかかってしまいますので画質を確認しつつなるべく小さなデータ量に抑えるようにしましょう。画像を見比べたい時は左上の『2アップ』、『4アップ』を選択すると様々な書き出し方式での状態を元画像を見比べられるのでここでチェックすると良いです。
その下の『プログレッシブ』というのはJPEG画像をプログレッシブで作成するかどうか選択できる項目となります。通常(ベースライン)のJPEG画像は上から徐々に読み込みが走りますが、プログレッシブのJPEG画像は画像全体を荒く表示させたあと徐々に細かく表示されるように読み込みとなります。昨今のネット環境ではJPEG画像くらいならばほぼ一瞬で読み込みが完了しますので最近はあまり使われなくなった設定です。あと一部の古いブラウザでプログレッシブのJPEG画像が読み込めないバグがありましたので基本的にはチェックをしないほうが安定するかもしれません。
『最適化』という項目にチェックを入れると人間の目に認識できないデータを適当に削除してデータ量を少し落としてくれます。落としてくれるデータ量は微々たるものなのでチェックを入れても入れなくてもどっちでも構いません。
その下の『カラープロファイル』では絶対的な色空間の情報を埋め込みするかどうかの設定ができます。実は表示しているディスプレイやOS、ソフトウェアによって同じ色を出力しているにも関わらず色味に若干違いがあったりするのですが、カラープロファイルを入れることによってその差を限りなく0に近づけることができます。ただし、この項目はその下の『sRGBに変換』という項目にチェックが入ってれば昨今のデバイス等ではそこまで色みに違いがでることはありませんので基本的にチェックを入れなくても問題はないかと思います。
その下のメタデータというところは作成する画像に対しての著作権データとなり、通常作成する分には触る必要のない項目となりますのでこちらは基本触らなくてOKです。もし著作権情報を埋め込みしたかった場合はこちらで入力しちゃってください。
その下の部分では画像サイズなどを変更することができます。これはJPEG画像、GIF画像、PNG画像共に存在する項目ですね。使い方は同じです。画像サイズの右側に鎖のマークがありますが、これはアスペクト比をキープしたまま拡大縮小するという項目なのでもしアスペクト比を維持せずに画像のサイズを変更したい(横だけおっきくしたりとかですね)場合は鎖のマークをクリックして反転させると縦横バラバラに値を設定することができます。
その下の『画質』というところについては『バイキュービック法』というのを選んでおけばおおかた問題はありません。これは拡大縮小の方式を選択できる項目で、方式によってエッジの立ち具合などに違いがでたりします。先ほどの『2アップ』の項目を選択して元の画像と見比べながら項目を選択すると良いですね。あ、左下の『100%』と項目があるところで画像の大きさとかを調整できるのでじっくり見比べたい場合はそこを大きくしちゃってください。
さて、続いて『GIF画像』の書き出しです。右上のプルダウンで『GIF』と選べばGIF画像の書き出し項目へと変更されます。

もう最近ではあまりGIF画像は使われなくなってきていますので使用することはあまりないかもしれません。色々な項目がありますが『制限(Web)』という項目を選択してそのまま書き出しすればほぼOKです。『制限(Web)』とはWindowsOSとMacOSで共通して使用できる色だけを使用して書き出すモードとなります。『カラー』という項目で使用する色数を下げるとデータ量がかなり抑えられたりするのですが、昨今のネット環境の通信速度ではGIF画像くらい一瞬で表示できますのでもう使用することもないかと思います。ガラケー用の画像を作成する場合などでデータ量を抑えたいときにだけ微調整をいれるようにしましょう。
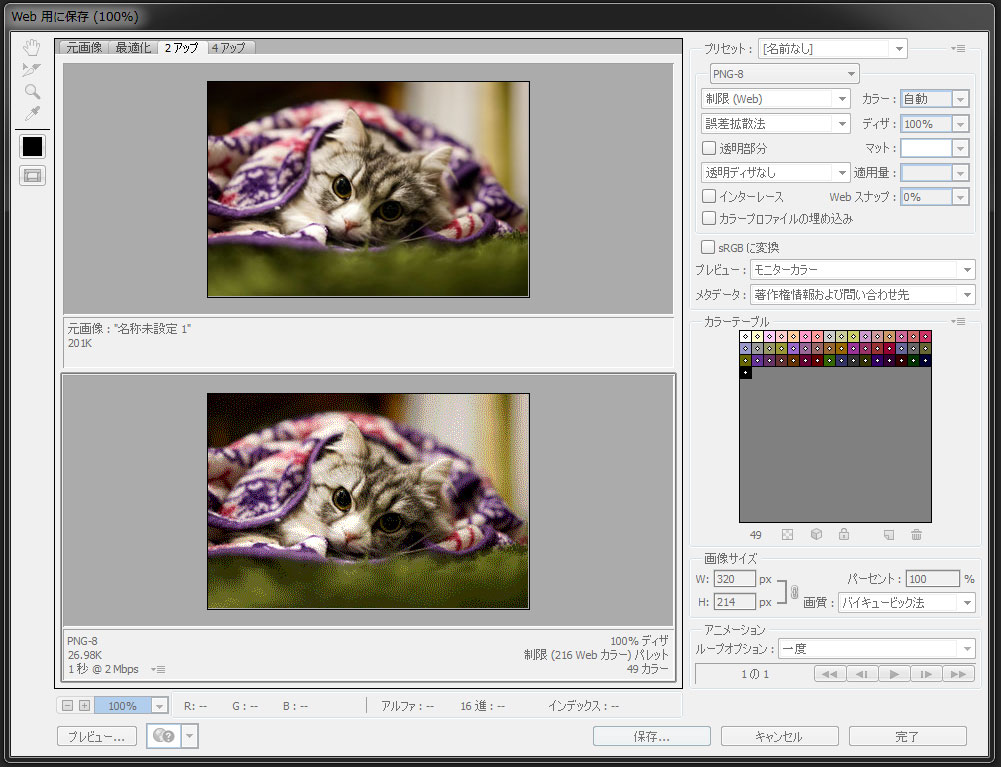
続いて『PNG-8』になりますがこちらもGIF画像と同じく『制限(Web)』で書き出しすればOKです。
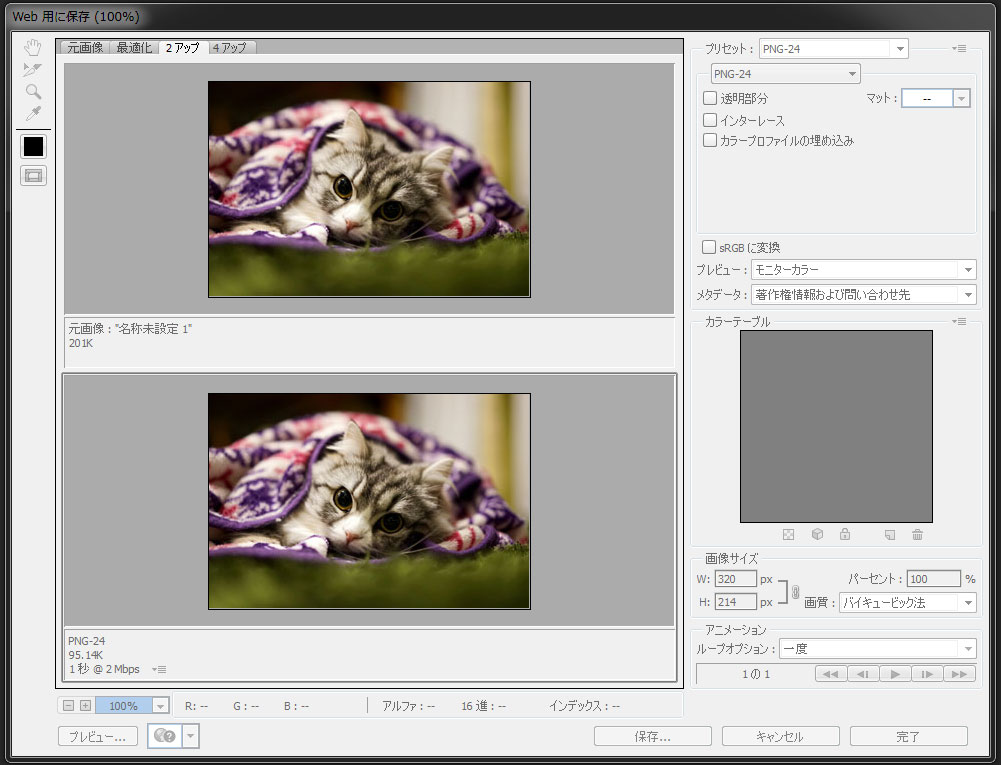
『PNG-24』に関しても『透明部分』と『sRGBに変換』という項目だけチェックを入れて書き出しをすれば問題ありません。
『GIF』、『PNG-8』、『PNG-24』に存在する『インターレース』という項目にチェックを入れると画像ファイルのダウンロード進行に合わせて徐々に画像が表示されるようになります。ISDN時代は大まかな画像イメージをダウンロード前から分かるように『インターレース』を設定することが多かったですが、昨今のネット回線は非常に早く、画像程度のデータ量ならば一瞬で読み込みが完了してしまうためこの項目は設定する意味がありません。しかも『インターレース』を有効にすると画像データがちょっと重くなってしまうので基本的にチェックを外すようにすると良いです。
というわけで画像の取り込みと書き出しについては以上となります。続いての記事では画像解像度とカンバスサイズとかについて進めていきます。ではまたお会いしましょう。
This article was written by Sakurama.
Author's beloved small mammal |
桜舞 春人 Sakurama HarutoA Tokyo-based programmer who has been creating various content since the ISDN era, with a bit of concern about his hair. A true long sleeper who generally feels unwell without at least 10 hours of sleep. His dream is to live a life where he can sleep as much as he wants. Loves games, sports, and music. Please share some hair with him. |
If you find any errors or copyright issues, please contact us.