シェアする
シェアする
Changing Colors and Drawing Tools - Japanese Only
みなさまどうも。
続きまして色の変更と『ブラシツール』とかを勉強していきましょう。
まずは色の変更になりますね。Photoshopでは『描画色』と『背景色』という概念があります。
『描画色』とは『ブラシツール』や『鉛筆ツール』などを使用するときに反映される色、『背景色』とは『消しゴムツール』や面や線の概念で消去したりするときに反映される色となります。
左下に以下の画像のような部分があるかと思います。ちょっと確認してみてください。
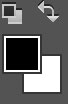
ここで色の変更ができます。左上の枠が『描画色』、右下の枠が『背景色』の項目になります。では左上の枠の『描画色』の部分をクリックしてみてください。そうすると以下の画像がでてくると思います。
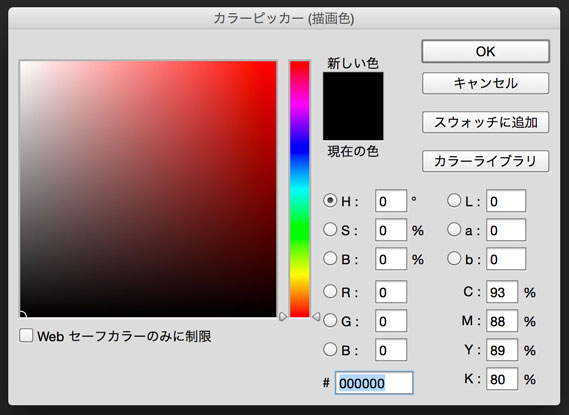
ここで色の変更ができます。左側のカラフルな部分を適当にクリックしてみてください。そうするとクリックした部分の色が選択できているはずです。右下あたりに『#』という項目がありますね、これは色を16bitの数値で指定できます。ウェブではよく使用されるので覚えておきましょう。
※16bitの色指定についてはこちらの記事を参照してください。
『背景色』の指定方法についても『描画色』とほとんど同じです。右下の枠をクリックすると『背景色』の指定画面が出てきますので描画色と同じように色を指定してください。
『描画色』と『背景色』を反転させたい場合は楕円の矢印マークのところをクリックすればOKです。以下の部分ですね。

では変更した『描画色』をつかって簡単に絵でも書いてみましょう。また適当に画像を開くか、もしくは新規ファイルを作成して下さい。そして左側の『ツール』一覧部分に以下のようなブラシのマークがあるのでそこをクリックしてみましょう。

これは『ブラシツール』と呼ばれる絵をか描けたりするツールです。『ブラシツール』とそっくりなアイコンの『クイック選択ツール』というのがありますがこちらを間違えて選択しないようにしてくださいね。以下のやつです。

さて『ブラシツール』を選択したら何かしらのレイヤーを右下のレイヤー項目から選択してください。もしレイヤーを選択していない状態で『ブラシツール』で絵を描こうとすると「レイヤーが選択されてないよ!」とPhotoshopさんに怒られてしまいますので注意です。
では適当にレイヤー部分をマウスでドラッグしてみましょう。無事に先ほど設定した『描画色』で絵が描けましたでしょうか。
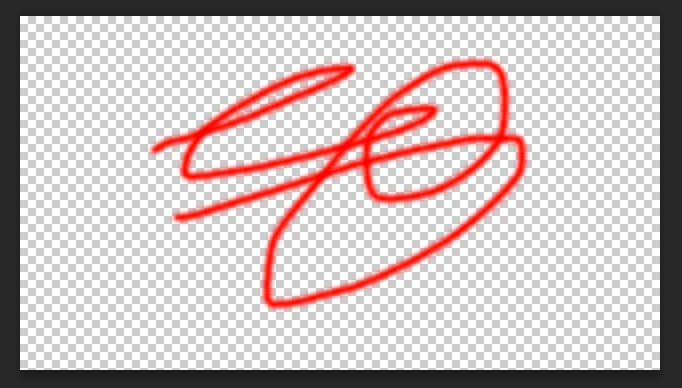
この『ブラシツール』は大きさやブラシの形を自由に設定することができます。『ブラシツール』を選択した状態で左上をみてみましょう。以下の項目がみつかるはずです。

ここをクリックしてみてください。すると以下のようなブラシの設定画面が出てきます。
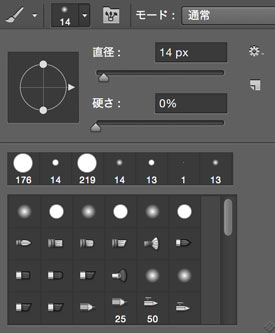
ここで大きさを変えたりブラシの形を変更することができます。ブラシの形は自作したり、ネットからブラシのデータを探して取り込みなども行うことができます。これについては別の記事で紹介していきたいと思います。色々といじってみると中々楽しめると思います。
そして先程の『ブラシツール』のところを長押しクリックしてみてください。すると『鉛筆ツール』や『色の置き換えツール』など『ブラシツール』のカテゴリの中の別のツールを選択することができます。
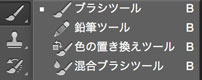
最近のPhotoshopはこんな感じでツールがまとまっているのでこちらの操作も覚えておきましょう。ツールが見つからねえぜってなったら長押してみると多分見つかるかと思います。
最後に『消しゴムツール』の紹介をしたいと思います。消しゴムツールは以下のアイコンのやつですね。

こちらは要するに消しゴムです。先ほど適当に描いた絵とか消せます。以下みたいな感じになりますね。先ほど適当に描いた絵らしきものをちょいと消してみました。

このように線を消すことができます。『ペンタブレット』などを使用している場合はペンの反対側が自動的に『消しゴムツール』に割り振られるのでペンの反対側でなぞればOKです。『ペンタブレット』を使用している方は毎回『消しゴムツール』を選択して消したりする必要はありません。
さて、ここで注意点です。上記の画像を作成したPhotoshopでは『カンバスカラー』を透明にして新規ファイルを作成し、『背景色』は『#ffffff』(真っ白)を指定しています。先ほどの『背景色』の話で『背景色』は『消しゴムツール』で使用する色、と説明しました。しかし白色が全く使われていませんね。『消しゴムツール』でなぞった部分は『透明』となっています。
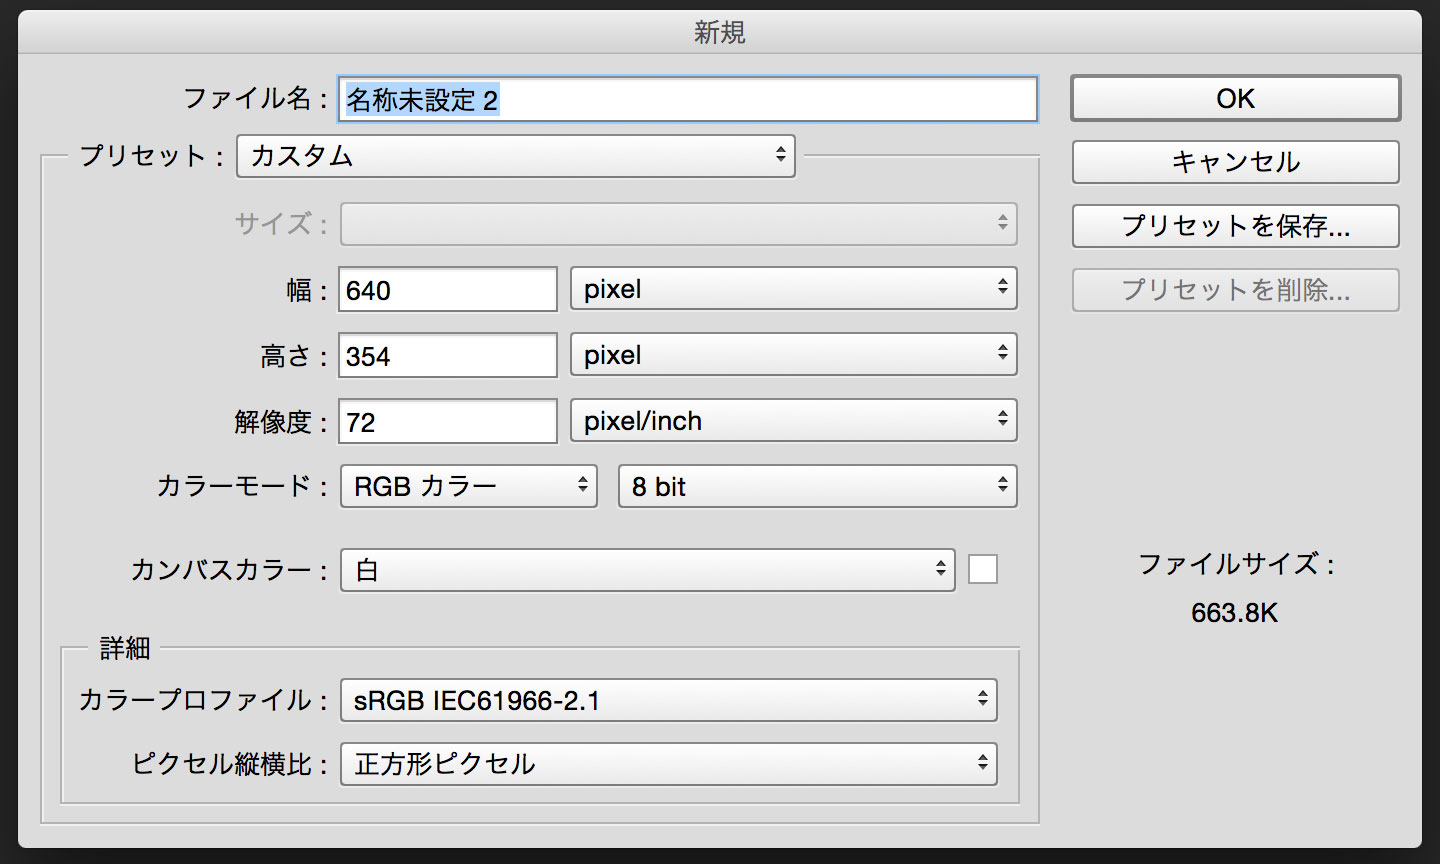
ここがちょっとややこしいのですがカンバスカラーが『透明』となっているか『何かしらの色』で塗られているかで『消しゴムツール』の動作がちょっと変わります。ちょっと試してみましょう。『カンバスカラー』に『白』と指定した新規ファイル作成してみます。
そんでもって適当にまた絵っぽいのを描いてみます。

今これを作成しているPhotoshop上の『背景色』は『#ffffff』(真っ白)を指定しています。この状態で『消しゴムツール』で消してみましょう。すると以下のようになります。
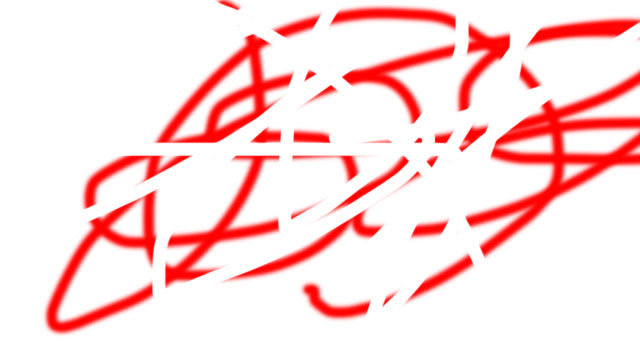
どうやら普通に消せているようですね。では画像をヒストリーを使って元に戻して『背景色』を『#000000』(真っ黒)に指定して『消しゴムツール』でなぞってみます。すると以下のようになります。
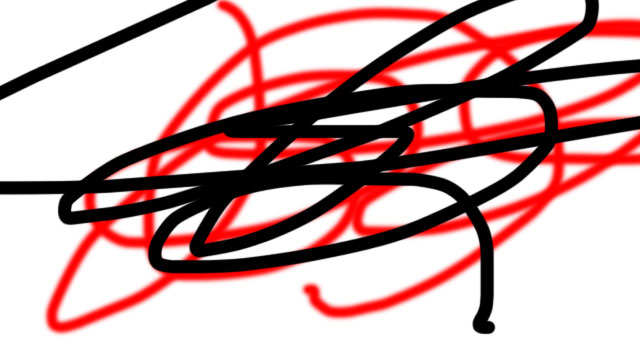
『消しゴムツール』でなぞったところが黒く描画されていますね。こんな感じでカンバスカラーに透明色を指定しているデータだと『消しゴムツールは透明色』となり、カンバスカラーに透明以外の色を指定している場合は『消しゴムツールは背景色』となります。ここ間違いやすいので注意しましょう。
というわけで色の変更とブラシツールとかの解説は以上となります。適当にPhotoshopで絵とか描いてみたりすると挙動が掴めてくるかと思いますので色々と試してみてください。続いての記事では塗りつぶしとかスポイトツールとか使っていきましょう。ではではー。
This article was written by Sakurama.

Author's beloved small mammal |
桜舞 春人 Sakurama HarutoA Tokyo-based programmer who has been creating various content since the ISDN era, with a bit of concern about his hair. A true long sleeper who generally feels unwell without at least 10 hours of sleep. His dream is to live a life where he can sleep as much as he wants. Loves games, sports, and music. Please share some hair with him. |
If you find any errors or copyright issues, please contact us.