[Setup] Bash Environment
Bash comes pre-installed on most macOS and Linux systems. You can open a terminal and start using it immediately — no special installation required.
For macOS / Linux
Opening a terminal gives you immediate access to Bash (or another shell such as zsh). You can check the version with the following command.
bash --version
Since macOS Catalina, the default shell has changed to zsh, but Bash is still installed and ready to use.
If you want the latest version of Bash, you can install it via Homebrew. Homebrew is a package manager for macOS. If it is not installed, follow the instructions on the official website (https://brew.sh/) to install it first.
brew install bash
For Windows
There are several ways to use Bash on Windows.
| Method | Description |
|---|---|
| WSL (Windows Subsystem for Linux) | Runs a Linux environment inside Windows. Provides a full-featured Bash. This is the recommended method. |
| Git Bash | A Bash environment bundled with Git for Windows. Supports basic commands. |
Installing WSL
Open PowerShell as Administrator and run the following.
wsl --install
Windows installation steps
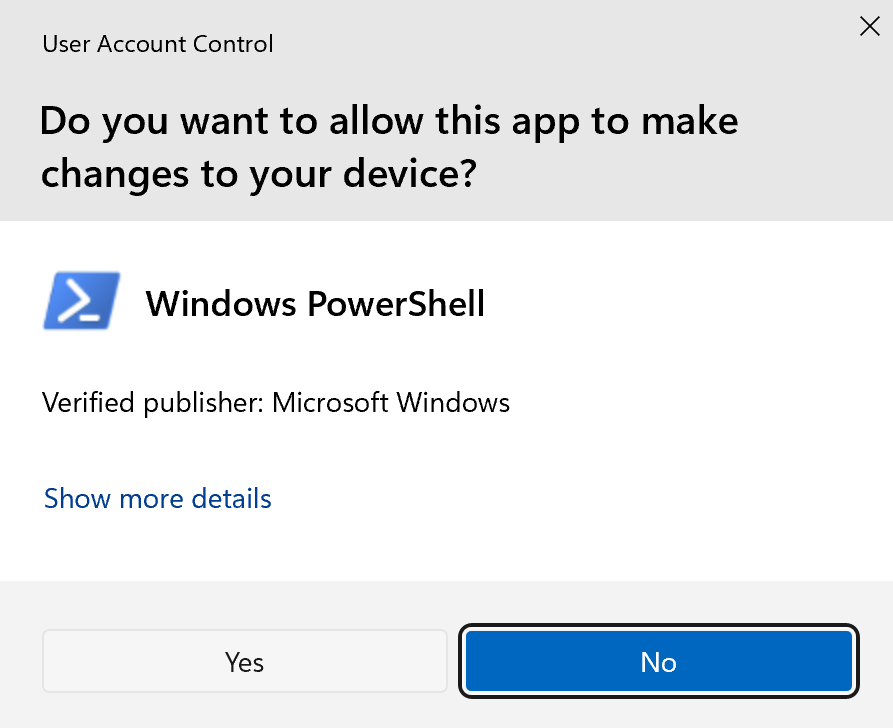
Allow PowerShell to run with administrator privileges.


After restarting, the setup for a Linux distribution (Ubuntu by default) will begin. Set a username and password to complete the setup.
Entering "root" as the username will result in an error.

When the following screen appears, the setup is complete.

Verifying the Bash version
Open a terminal and run the following.
bash --version
If a version number is displayed, the installation was successful.
Creating and Running Scripts
1. Create the script file
Use a text editor to create a file named hello.sh with the following content.
hello.sh
#!/bin/bash

echo "Yagami Iori"
echo "Kusanagi Kyo"
The first line, #!/bin/bash, is called a "shebang" line. It tells the OS to run this script with Bash.
2. Grant execute permission and run
chmod +x hello.sh
./hello.sh
chmod +x grants execute permission to the file, allowing you to run it directly with ./filename.
If Yagami Iori and Kusanagi Kyo are displayed, you're all set.
Running directly with the bash command
You can also run a script without granting execute permission by using the bash command directly.
bash hello.sh
About the Shebang Line
The shebang line is a special notation written on the first line of a script file, starting with #!.
| Notation | Description |
|---|---|
| #!/bin/bash | Runs with Bash. The most common form. |
| #!/usr/bin/env bash | Looks up Bash via the PATH environment variable. More portable. |
| #!/bin/sh | Runs with a POSIX-compatible shell. Bash-specific features are not available. |
Make it a habit to include a shebang line at the top of every script you write.
Recommended Editors
Here are some useful text editors for creating shell scripts (.sh files).
| Editor | Features |
|---|---|
| VSCode | Installing the Shell Format and ShellCheck extensions enables formatting and syntax checking for shell scripts. Free. The full name is "Visual Studio Code". |
| Sublime Text | A lightweight, extremely fast editor. Its simple interface lets you focus on coding. Available on Windows / macOS / Linux. |
| Hidemaru Editor | A legendary Japanese text editor first released in 1993. Lightweight, fast, and equipped with a powerful macro system. Windows only, one-time purchase. |
| vim / nano | Terminal-based editors. They come in handy when editing scripts directly on a server. |
These days, VSCode seems to be the most widely used editor, but the webmaster personally loves simple and lightweight editors, so he currently uses Sublime Text. Feel free to use this as a reference.
A note about Hidemaru Editor: first released in 1993, Hidemaru is lightweight, features powerful search and replace with regular expressions, and can be customized with macros. In modern terms, macros are similar to add-ons — and Hidemaru had this capability back in the 1990s, a remarkably forward-thinking design that makes it a truly wonderful editor.
The webmaster himself used Hidemaru Editor for programming from the Windows 3.1 era through Windows 7, and owes a great deal to it over the years. Its developer, Hideo Saito, continues to update Hidemaru to this day — it runs perfectly on Windows 11 and other 64-bit versions of Windows. You can purchase Hidemaru Editor from here — it is a one-time purchase for around 4,000 yen (about $27), and having it on a Windows machine can be surprisingly handy.
(´-`).。oO(The webmaster wanted to give a special shout-out to Mr. Saito, whom he has relied on for many years...)
(´-`).。oO(Over 30 years of use and the total cost was just around 4,000 yen... it is hard to find anything else with such incredible value...)
(´-`).。oO(Well then, please continue with the setup. Good luck with the environment configuration...)
If the Command Is Not Found
Seeing bash: command not found in a terminal is rare, but PATH issues can occur after installing the latest version via Homebrew. Follow the steps below to check and fix the issue.
1. Check which Bash versions are installed
The system's built-in Bash.
/bin/bash --version
Bash installed via Homebrew.
/usr/local/bin/bash --version
/opt/homebrew/bin/bash --version
About the default shell on macOS
Since macOS Catalina (10.15), the default shell changed from Bash to zsh. When you open a terminal, it is zsh that is running, not Bash.
You can check your current shell with the following command.
Check the current shell.
echo $SHELL
Bash scripts can be run with bash scriptname.sh, so leaving the default shell as zsh is perfectly fine. If you want to change the default shell to Bash, run the following.
Change the default shell to Bash.
chsh -s /bin/bash
Setting the Homebrew version of Bash as the default
To use the latest version of Bash installed via Homebrew as your default shell, you first need to add it to the list of allowed shells.
Add it to the list of allowed shells (for Apple Silicon Macs).
echo '/opt/homebrew/bin/bash' | sudo tee -a /etc/shells
Change the default shell.
chsh -s /opt/homebrew/bin/bash
The Bash that comes with macOS is version 3 (due to GPLv2 license restrictions), while the Homebrew version is version 5, which supports newer features such as associative arrays and regex matching.
Uninstalling Bash
To uninstall the Bash version installed via Homebrew, run the following command.
brew uninstall bash
If you find any errors or copyright issues, please contact us.